
Technical Details & Diagrams — Palazzo Construction
Palazzo Construction Ltd. • Vancouver & Lower Mainland • September 2025
Coastal storms punish building envelopes. Failures rarely come from field areas—they start at transitions: window heads/sills, roof‑wall joints, penetrations, and below‑grade interfaces. This guide shows the key assemblies we execute in Vancouver homes to shed, drain, and dry. We align with BC Building Code guidance on moisture management and City of Vancouver rainscreen requirements (Province of BC, 2024; City of Vancouver, 2025).
3 Rules for the Coast
1) **Deflect**: keep bulk water off assemblies with overhangs, flashings, and kick‑outs.
2) **Drain**: accept that some water gets in—provide a clear path out via ventilated cavities and weeps.
3) **Dry**: select vapour‑open WRBs and ensure air/vapour continuity so assemblies can dry both ways when safe.
Diagrams (High‑DPI, Schematic)
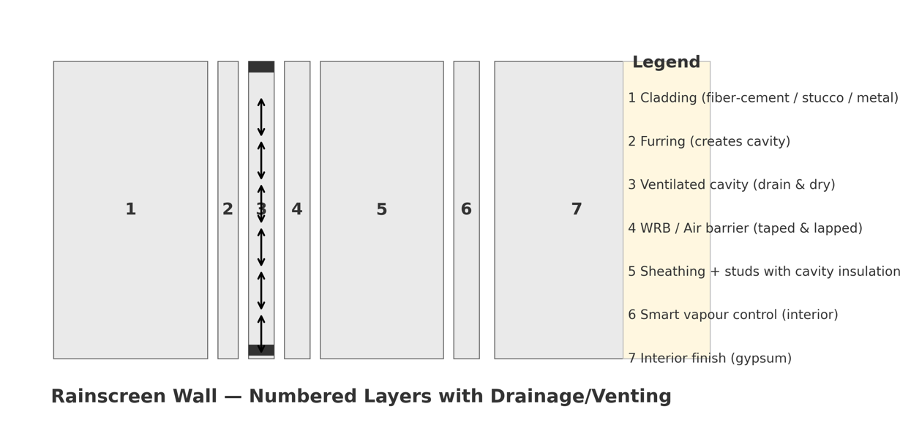
Rainscreen wall with ventilated cavity, WRB/air barrier, and smart vapour control (schematic).
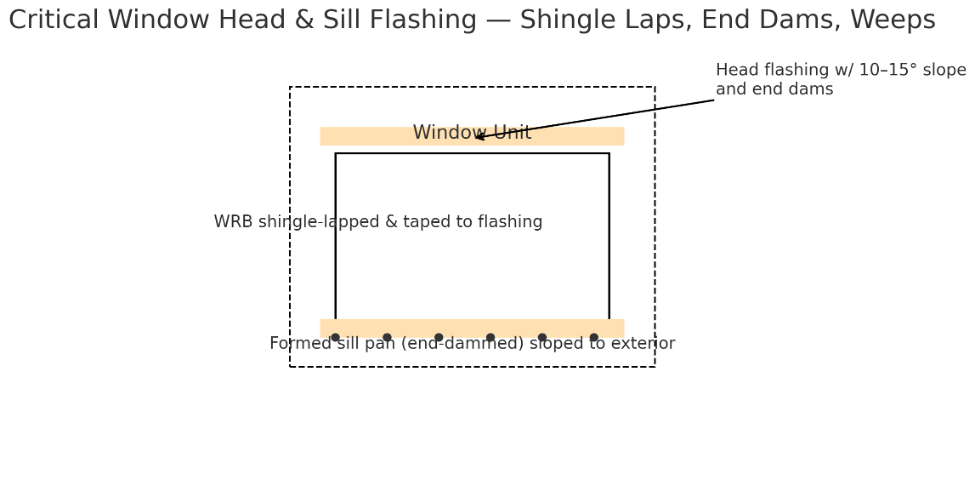
Window head & sill: shingle laps, end‑dammed head flashing, sloped sill pan with weeps.
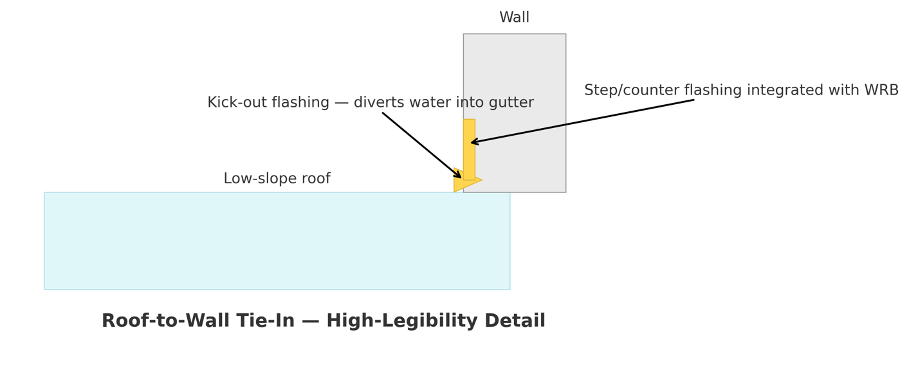
Roof‑to‑wall: kick‑out flashing and counter‑flashing integrated with WRB.
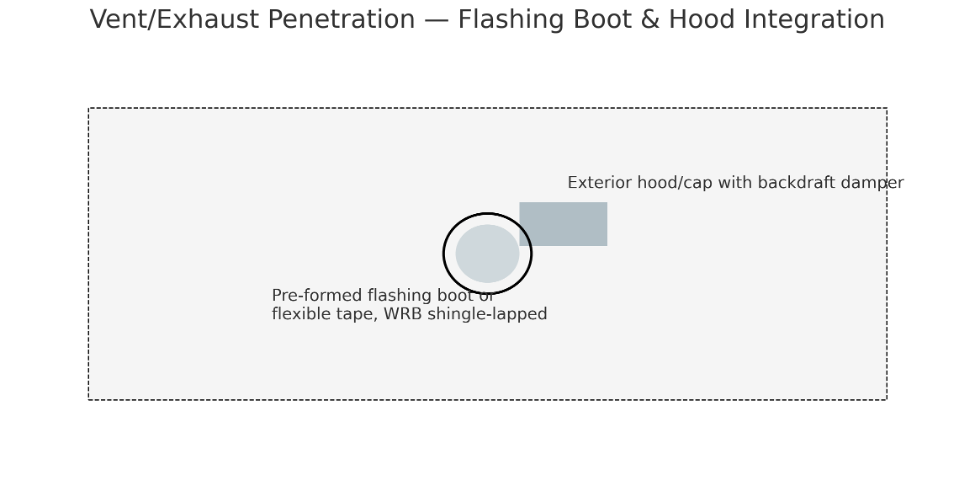
Vent/exhaust penetration: pre‑formed boot or flexible tape; exterior hood with backdraft damper.
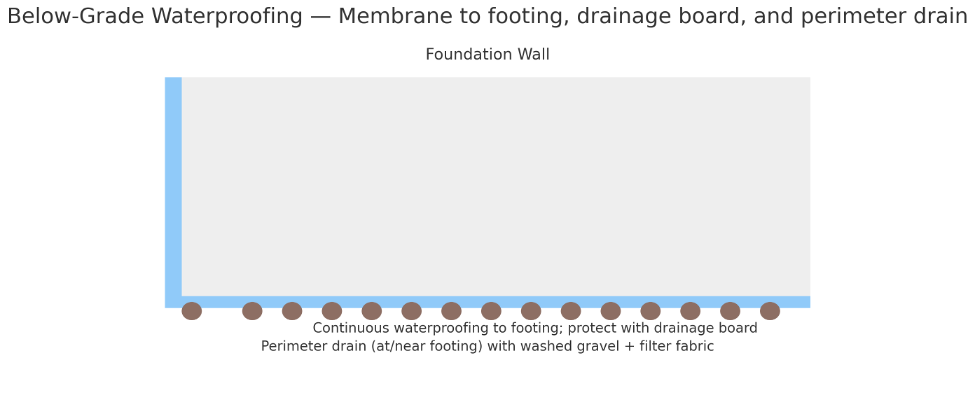
Below‑grade waterproofing: membrane to footing, drainage board, perimeter drain and gravel bed.
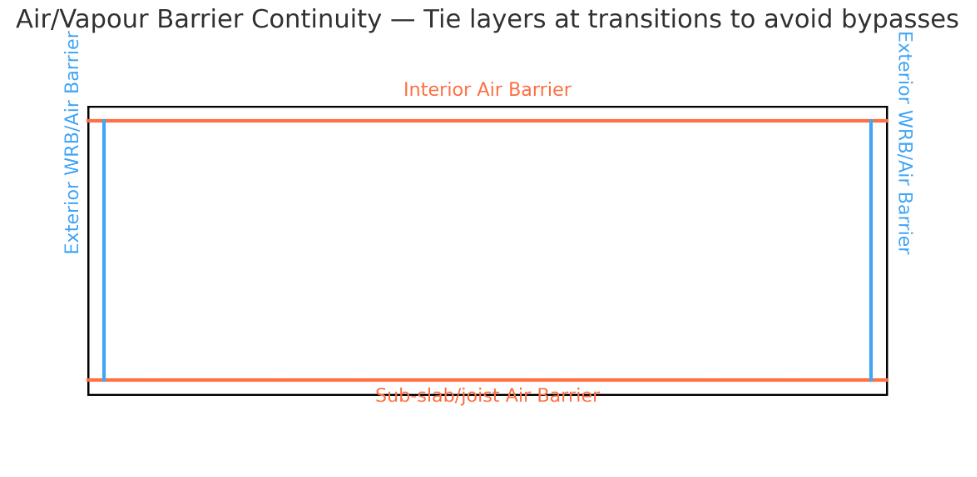
Tie interior air/vapour barrier to exterior WRB at transitions to avoid bypasses.
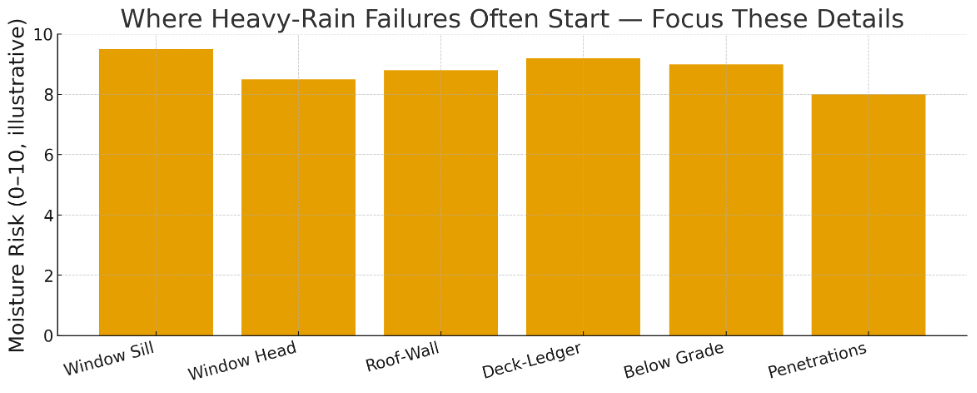
Where heavy‑rain failures often begin — focus inspections and QA here.
Site QA/QC Checklists (Excerpt)
Windows/Doors: [ ] sill pan sloped & end‑dammed [ ] head flashing with end dams [ ] WRB shingle‑lapped & taped [ ] weeps open
Cladding: [ ] cavity vented top/bottom with insect screens [ ] furring thickness ≥ 10–19 mm (per system) [ ] penetrations gasketed/taped
Roof/Wall: [ ] kick‑out installed [ ] counter‑flashing overlapped [ ] step‑flashing at every course
Below Grade: [ ] continuous membrane to footing [ ] drainage board installed [ ] drain tile at footing with washed gravel + fabric
Air/Vapour: [ ] continuity at rim joists & floor lines [ ] service penetrations sealed [ ] drywall/airtight layer taped
References (APA 7th)
Province of British Columbia. (2024). BC Building Code 2024 — Moisture management (Part 9 guidance). https://www2.gov.bc.ca/
City of Vancouver. (2025). Rainscreen and building envelope resources for residential construction. https://vancouver.ca/
Building Enclosure Council (Canada). (2023). Best practices for coastal rainscreens and flashings. https://bec-c.ca/
Copyright & Editorial Integrity
Original writing and diagrams created for Palazzo Construction. Facts are paraphrased from official sources cited above; no verbatim copying. © Palazzo Construction Ltd. All rights reserved.
Palazzo Construction Ltd. • Vancouver & Lower Mainland • September 2025
Appendix — High‑Legibility Diagram Replacements
The following figures replace earlier versions for improved readability in print and web.
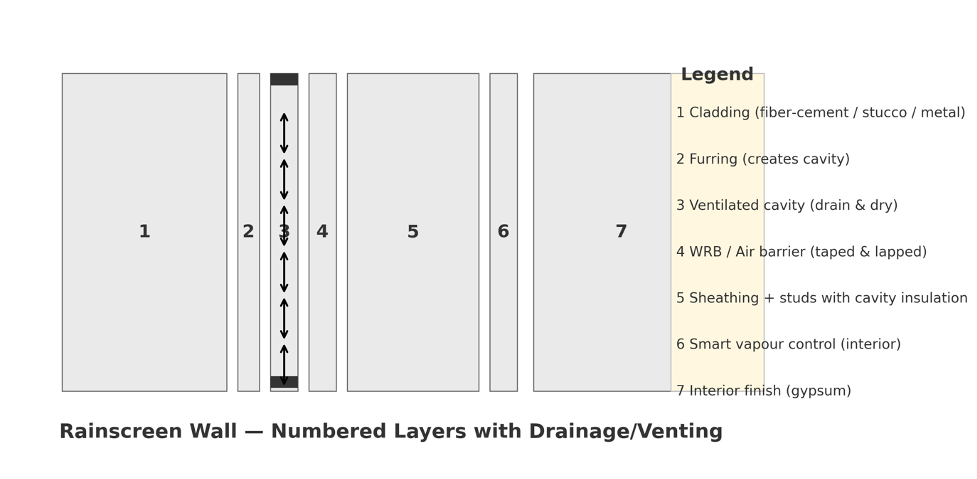
Updated Rainscreen Wall Assembly — numbered layers + legend (high‑DPI).
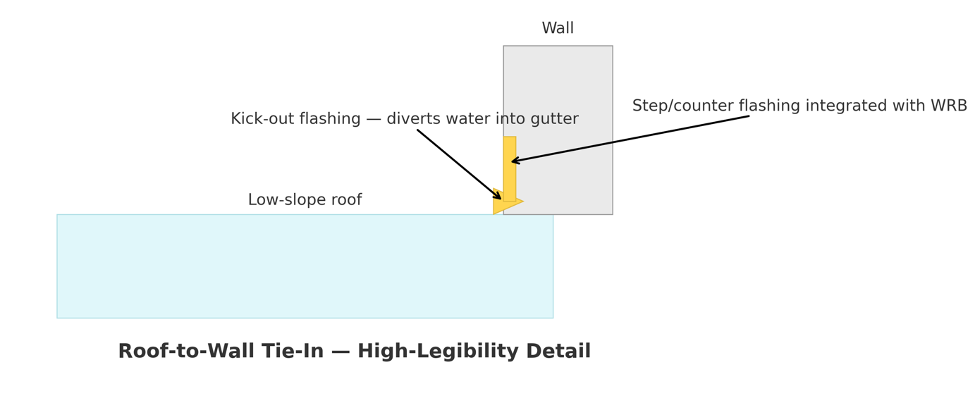
Updated Roof‑to‑Wall Tie‑In — kick‑out and counter‑flashing (high‑DPI).